
Lawrence Brown
Harwood Style Guitar Project
|
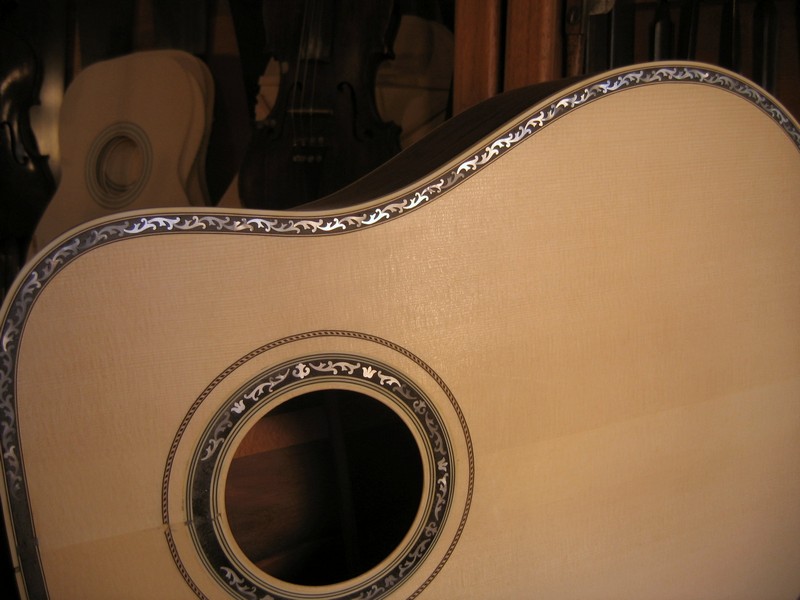
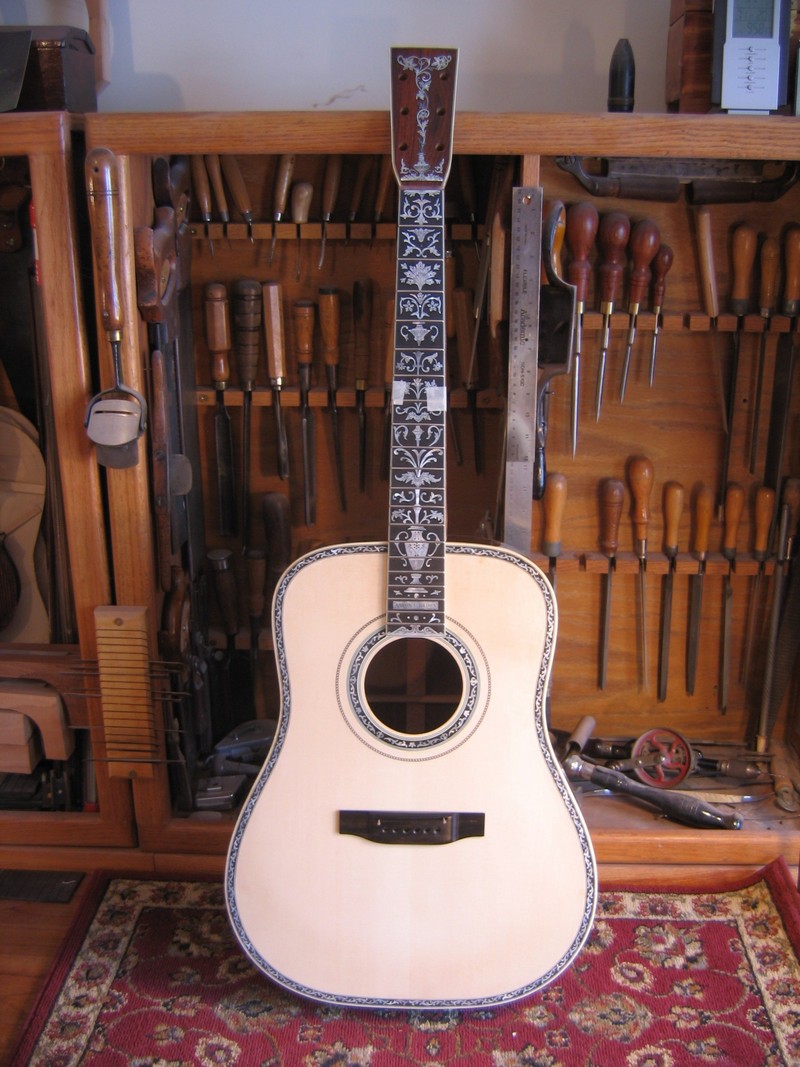
We'd guess the original guitars were smaller than a dreadnought. This is the series of e-mails with Larry's notes on what he was doing at each stage along with the related pictures. |
|
|
|
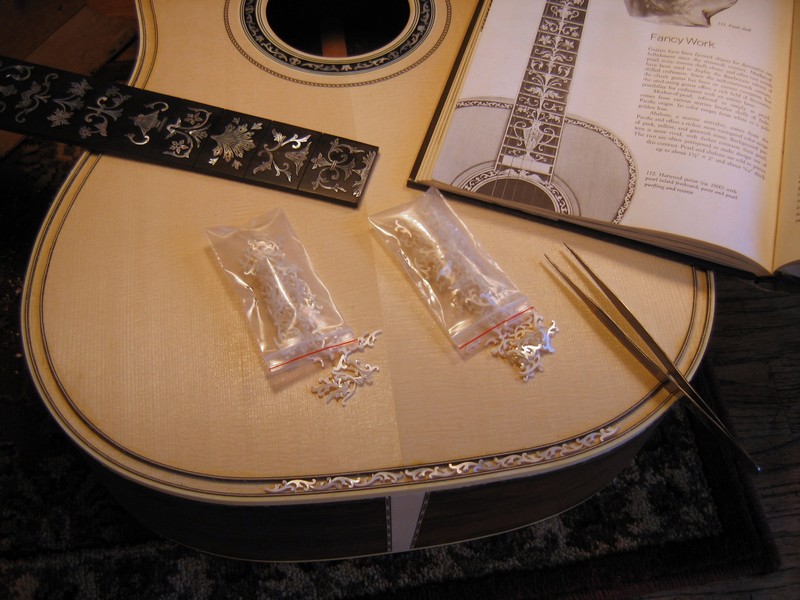
September 24, 2010 Hey Andy, the pearl arrived today and it is great! Save the photo, and I'll keep you posted. Thanks again, |
|
|
 |
 |
|
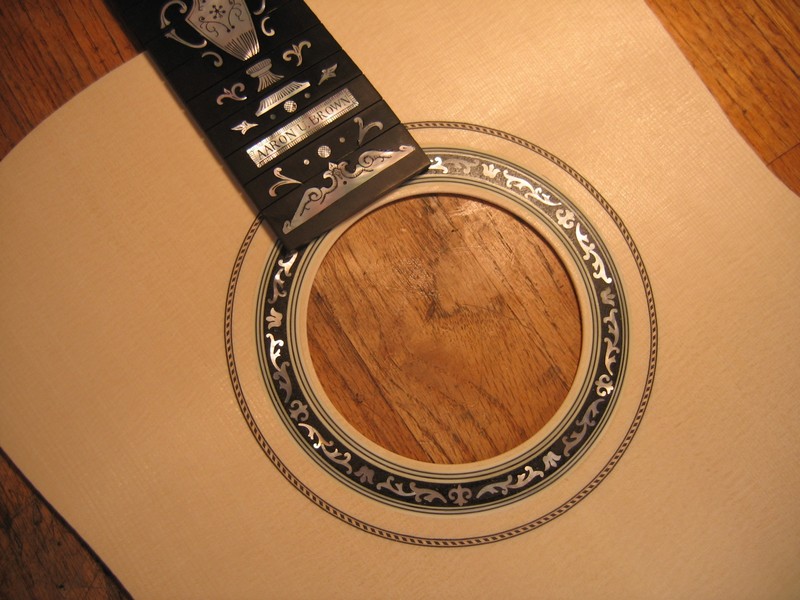
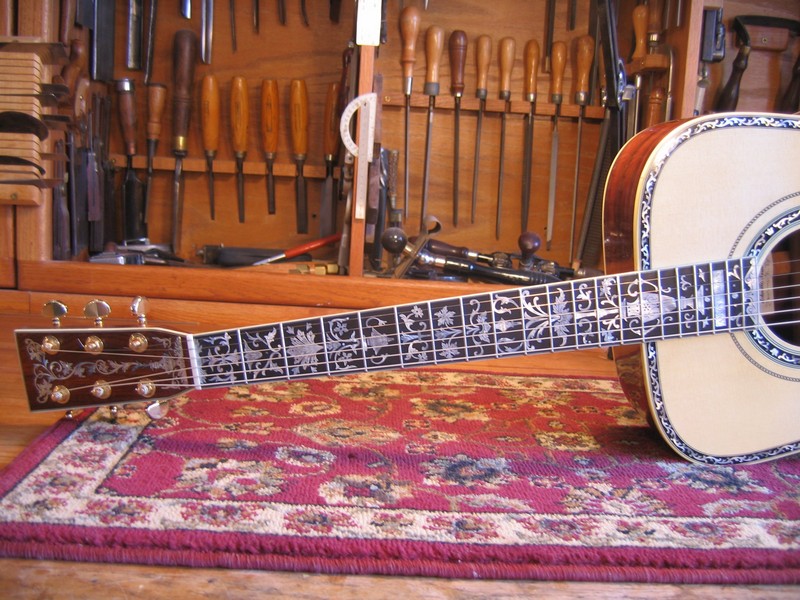
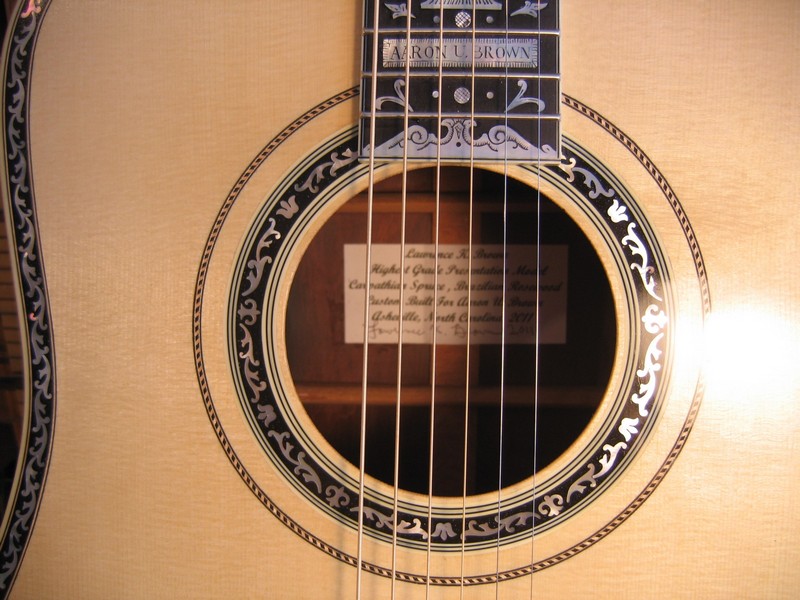
December 29, 2010 Hi Andy, Also, I chose to engrave and fill the pearl. It took me a week to inlay the fingerboard. I'll send some more pictures later on. Thanks, |
|
|
|
 |
 |
|
January 2, 2011 Looks wonderful. The engraved pearl plate at the base is a great touch. If you have some more pictures of the process I'd love to add them to my website. Thanks for sending the pictures Andy |
|
|
January 2, 2011 Hi Larry, I am keeping these in a folder as you send them. Think it would be interesting for other people to see if they are interested in the Harwood design. Did I tell you I have never seen a picture of this complete Harwood model guitar. Have searched a lot but no luck. Only have seen two, that partial picture you have there in the Sloan book. There is also a picture of part of a peg head & 1st fret on one of the Guild of American Luthiers Big Red books. Both pictures are lacking details that would help to do an accurate rendition. The drawings were given to me maybe 30 or more years ago by Chuck Ericson. Anyway you have picked a major project and I look forward to seeing the progress. Best wishes, Andy |
|
 |
 |
|
They are Carpathian spruce from Romania, and old growth Brazilian rosewood I have saved since the 70's. One is a gift for my son, the other is for sale for $25,000 . |
|
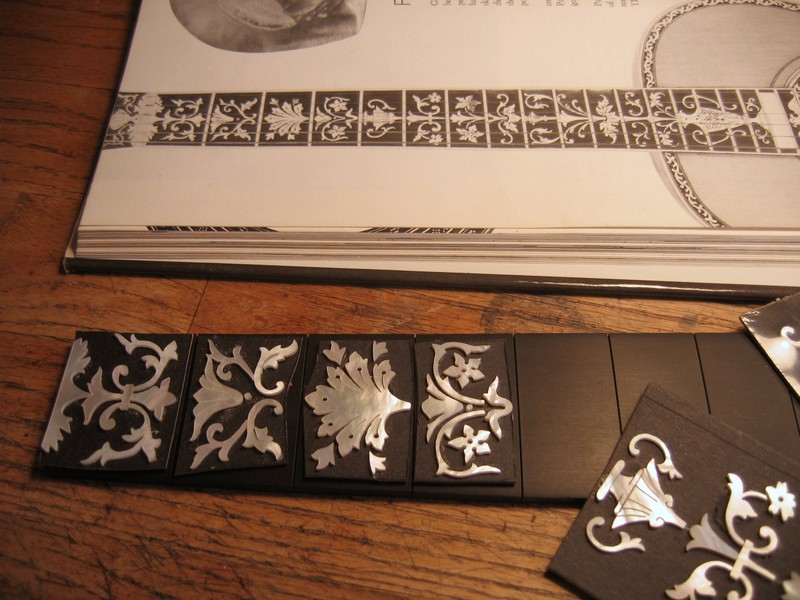 |
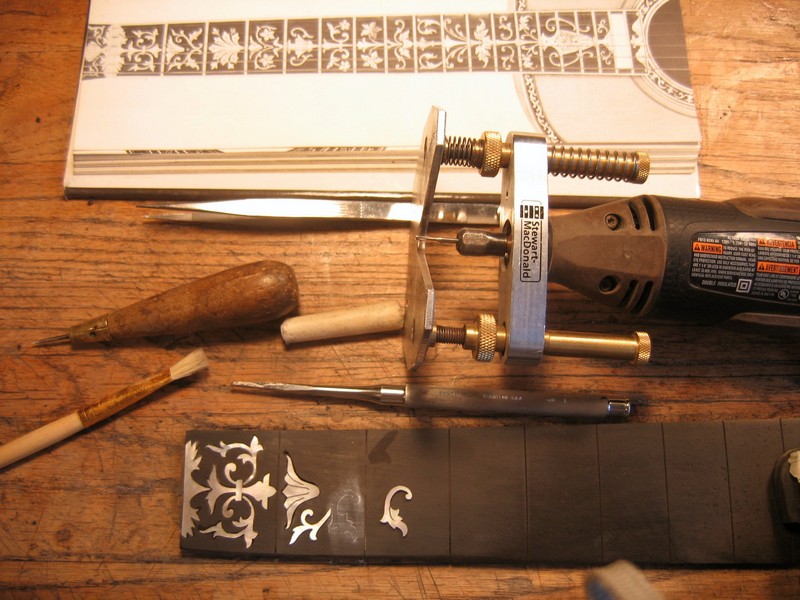
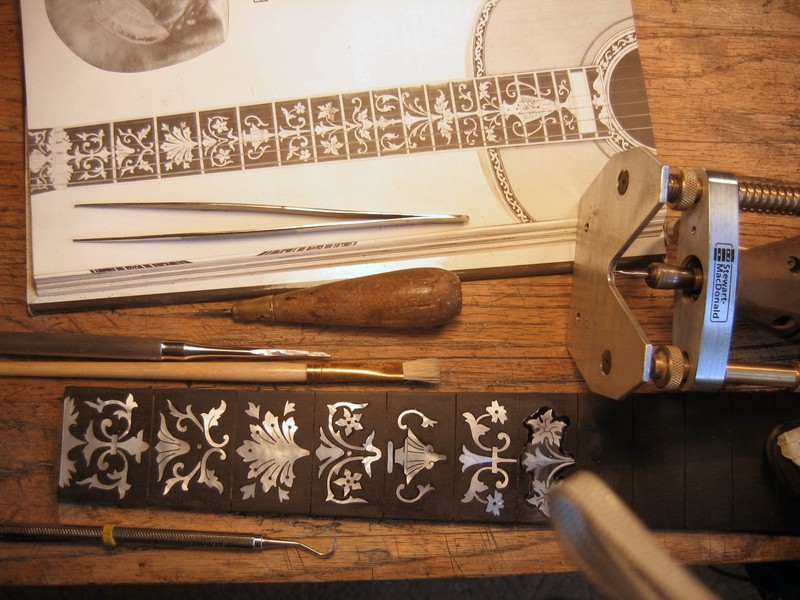
January 2, 2011 Hi Andy, I found the best way to keep things under control was to cut the backing cardboard into one-fret-space chunks, and to inlay and sand down one fret space at a time. Black superglue is available from Stewart Macdonald, but it is possible to dye thick superglue from Rockler with black oil based violin varnish dye from International violin. I use a diamond shaped engraving burin, and grit laskin's engraving line filler. see pics |
 |
 |
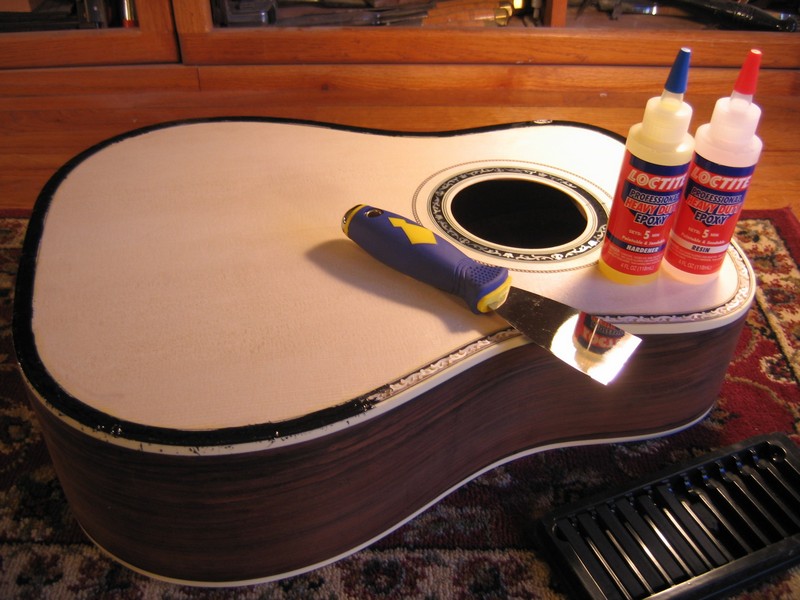 |
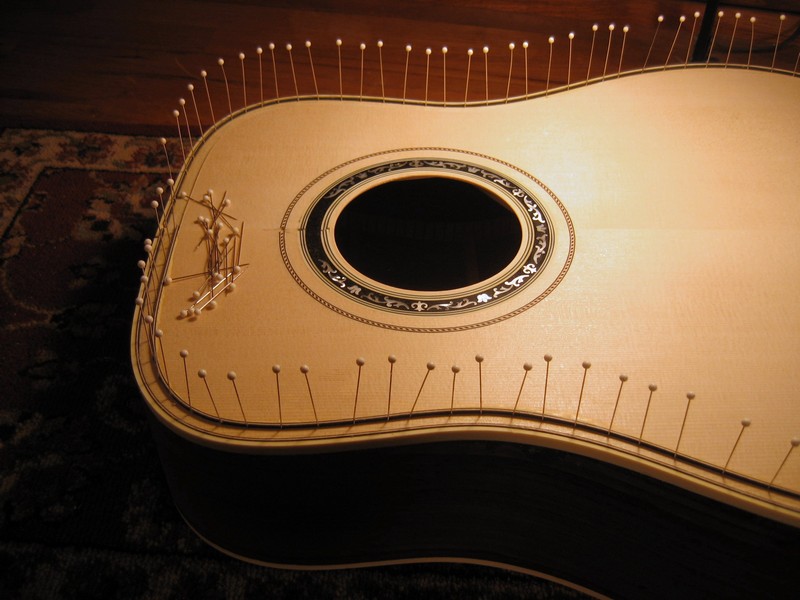
January 3, 2011 A mixture of 5 minute epoxy and artist's charcoal dust is forced into the pearl channel with a putty knife. |
|
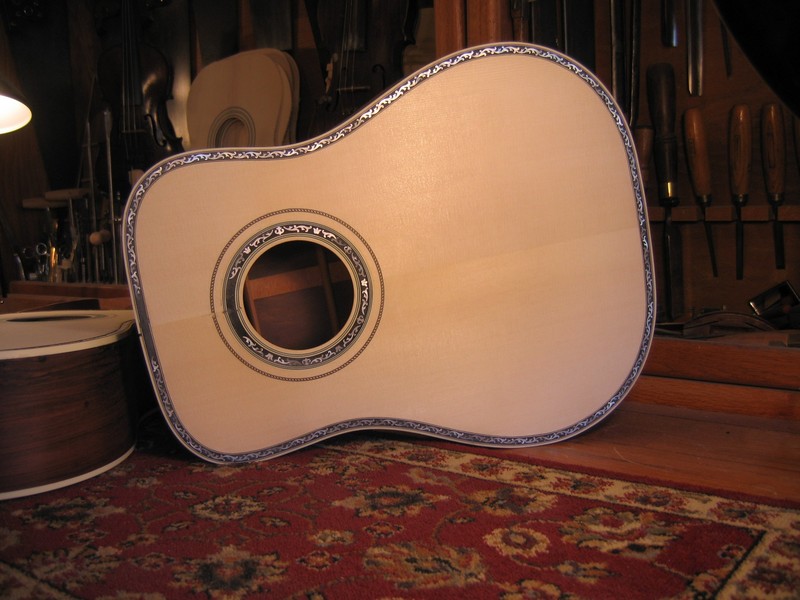
January 4, 2011 filler sanded down Larry |
|
 |
 |
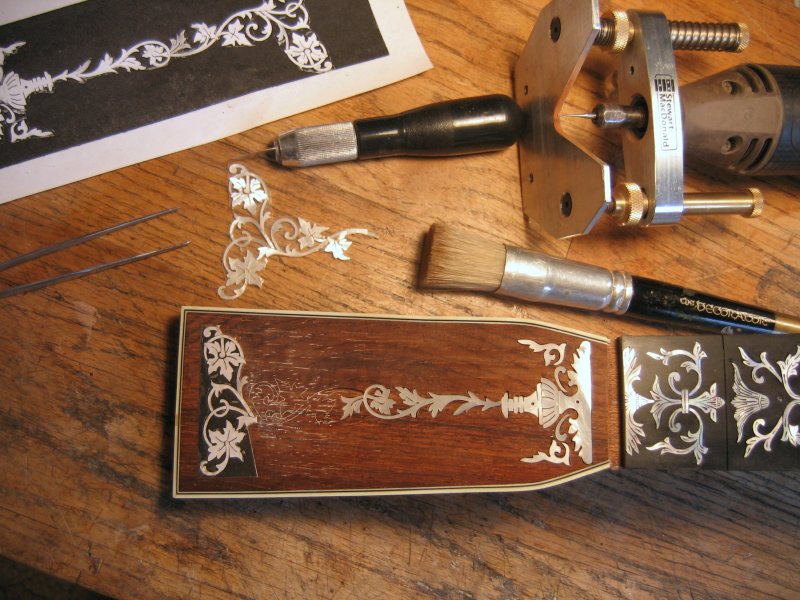 |
January 7, 2011 Rather than tracing every piece of pearl with a knife point, I find it easier to keep things under control by gluing a photocopy of the pearl to the peghead, tracing through the paper with the knife, scrape the paper off, then fill the cuts with chalk. You must check the photocopy carefully to see that it is not distorted. I had to set the machine at 99% to get an accurate image. |
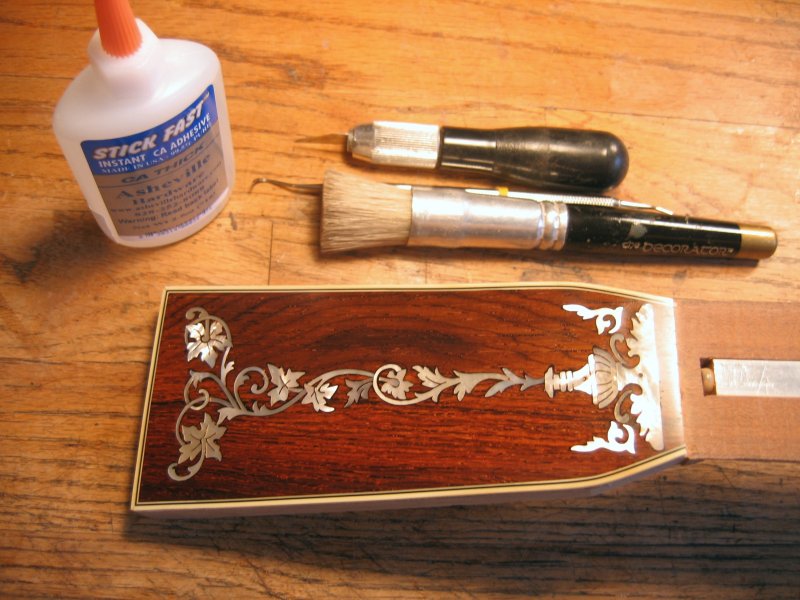 |
January 7, 2011 The finished peghead, prior to engraving. It is not perfect. My teacher taught me that perfection is not achievable - what we are striving for is excellence, which is different. A laser could do better, but this looks more old-timey. |
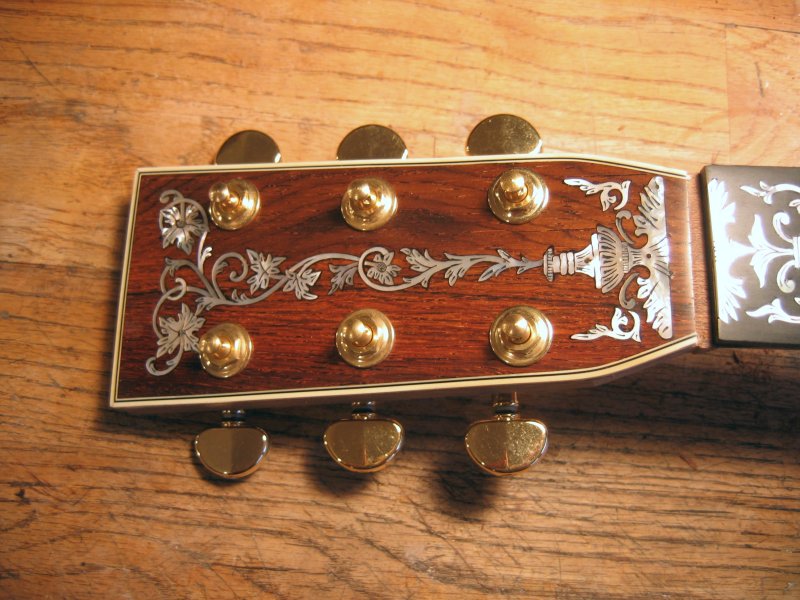 |
January 7, 2011 Finished engraved peghead, new - old stock Grover Rotomatics from the '70s, 23k gold plated |
|
January 8, 2011 |
 |
 |
 |
|
January 11, 2011 |
 |

![]()
Sam Van DePaule
Springfield,OR
USA
10:00am - 5:00pm M-F
541-728-0953
© Copyright 2013 LuthierSupply.com. All Rights Reserved

![]()
C. Andy DePaule
Quan 3, Ho Chi Minh City
Viet Nam
By Appointment Only

